Install on Windows
Sense runs on your local machine and connects to the Builderius builder. This guide covers the full first-time setup. Steps 1 through 4 only need to be done once per machine. Future WordPress projects only require enabling Sense in Builderius settings and starting the server in the builder.
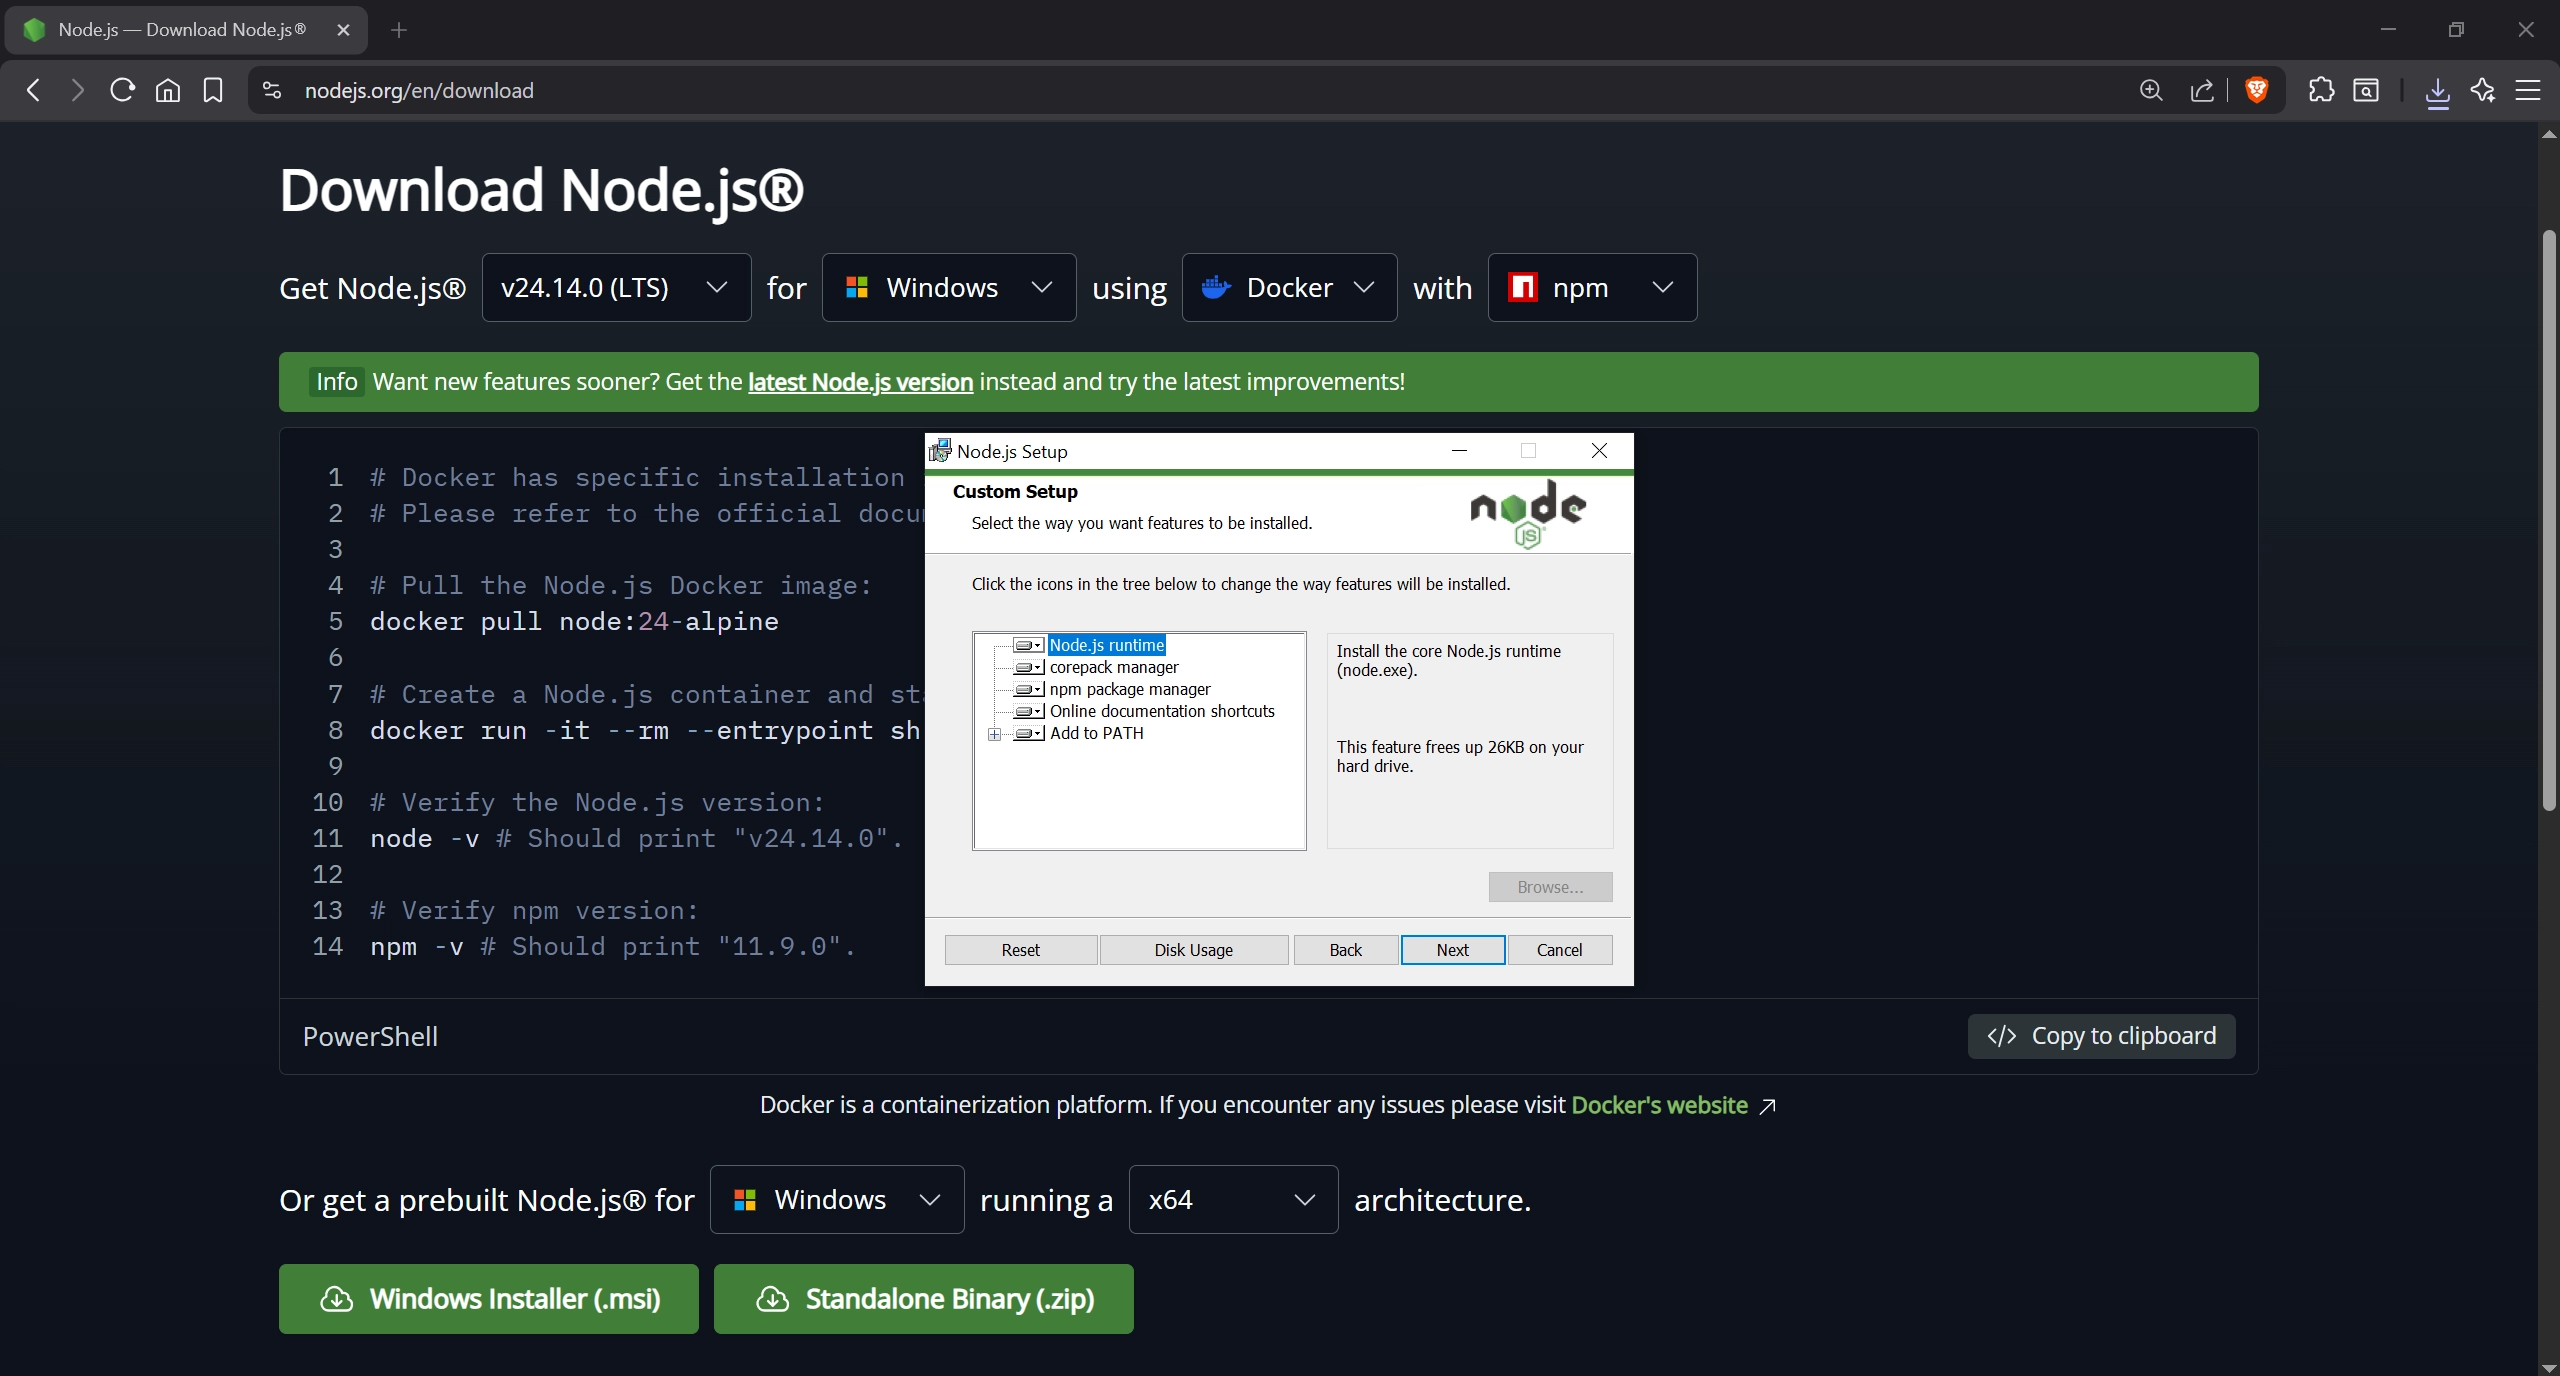
Step 1: Install Node.js
- Go to nodejs.org/en/download
- Download the Windows Installer (.msi) for your architecture (x64 for most machines)
- Run the installer. Default settings are fine — make sure "Add to PATH" stays checked.
Verify it worked by opening PowerShell and running:
node -v
It should return a version number.
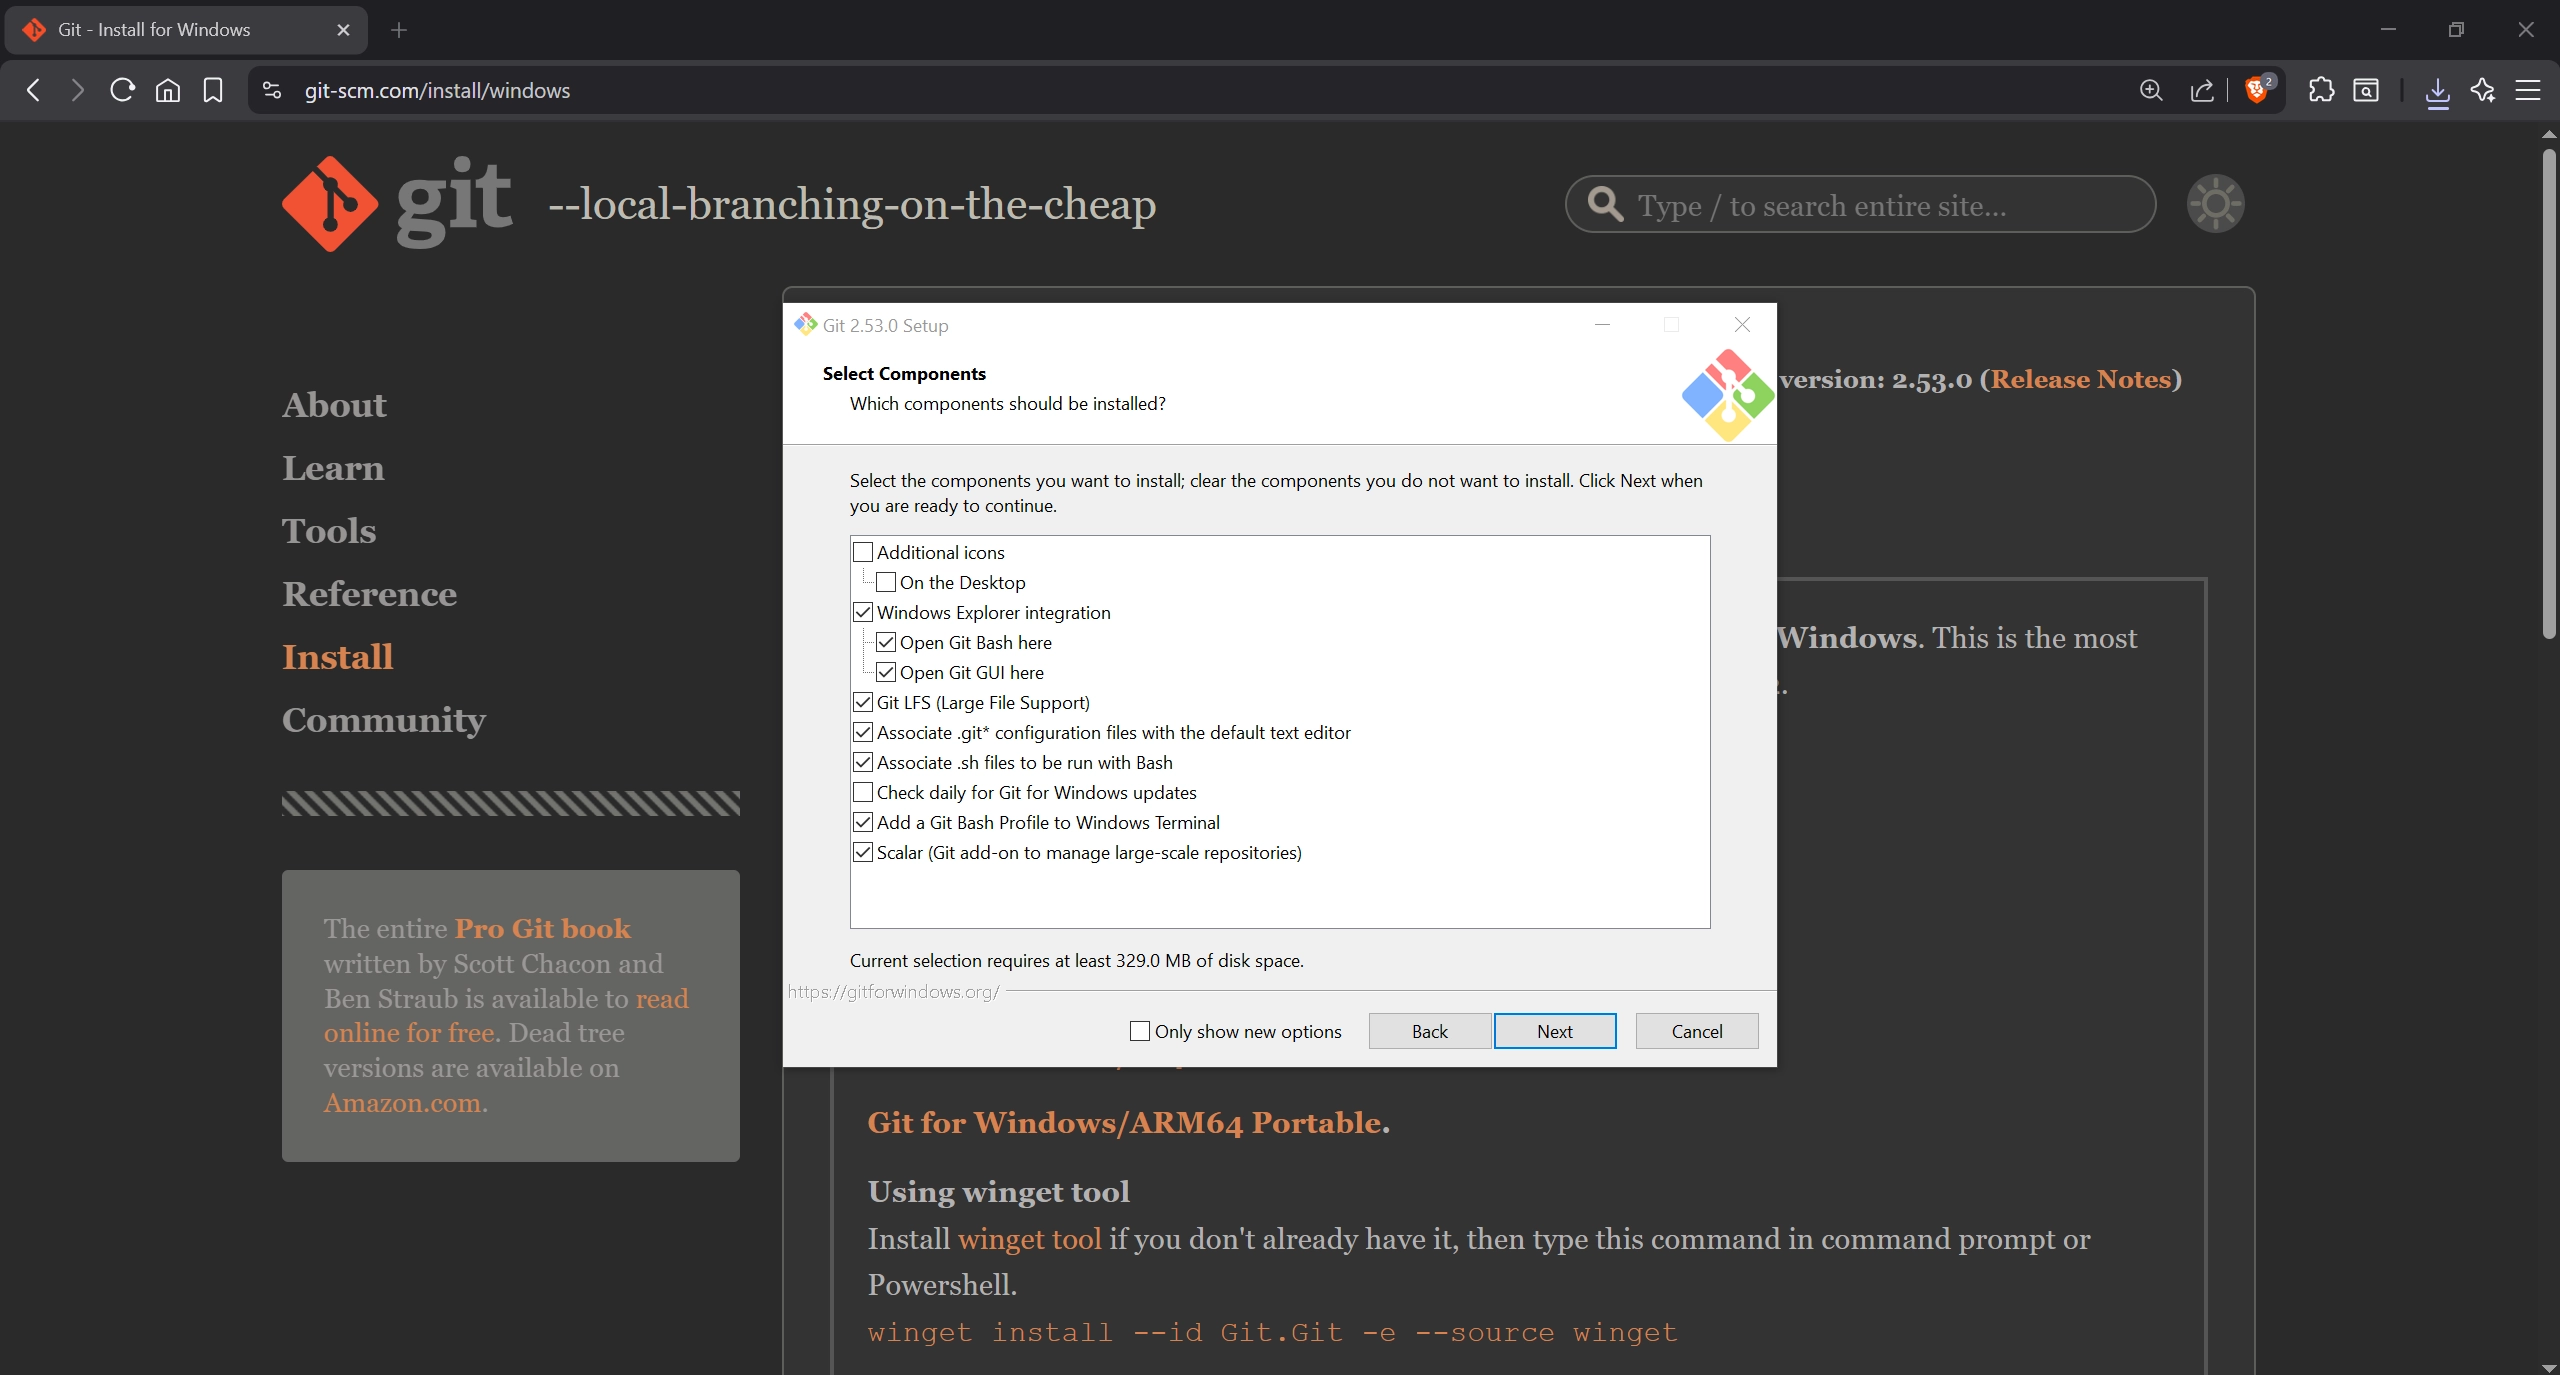
Step 2: Install Git for Windows
- Go to git-scm.com/install/windows
- Download and run the installer
- On the Select Components screen, make sure "Git Bash here" is checked under Windows Explorer integration. Otherwise, default settings are fine.
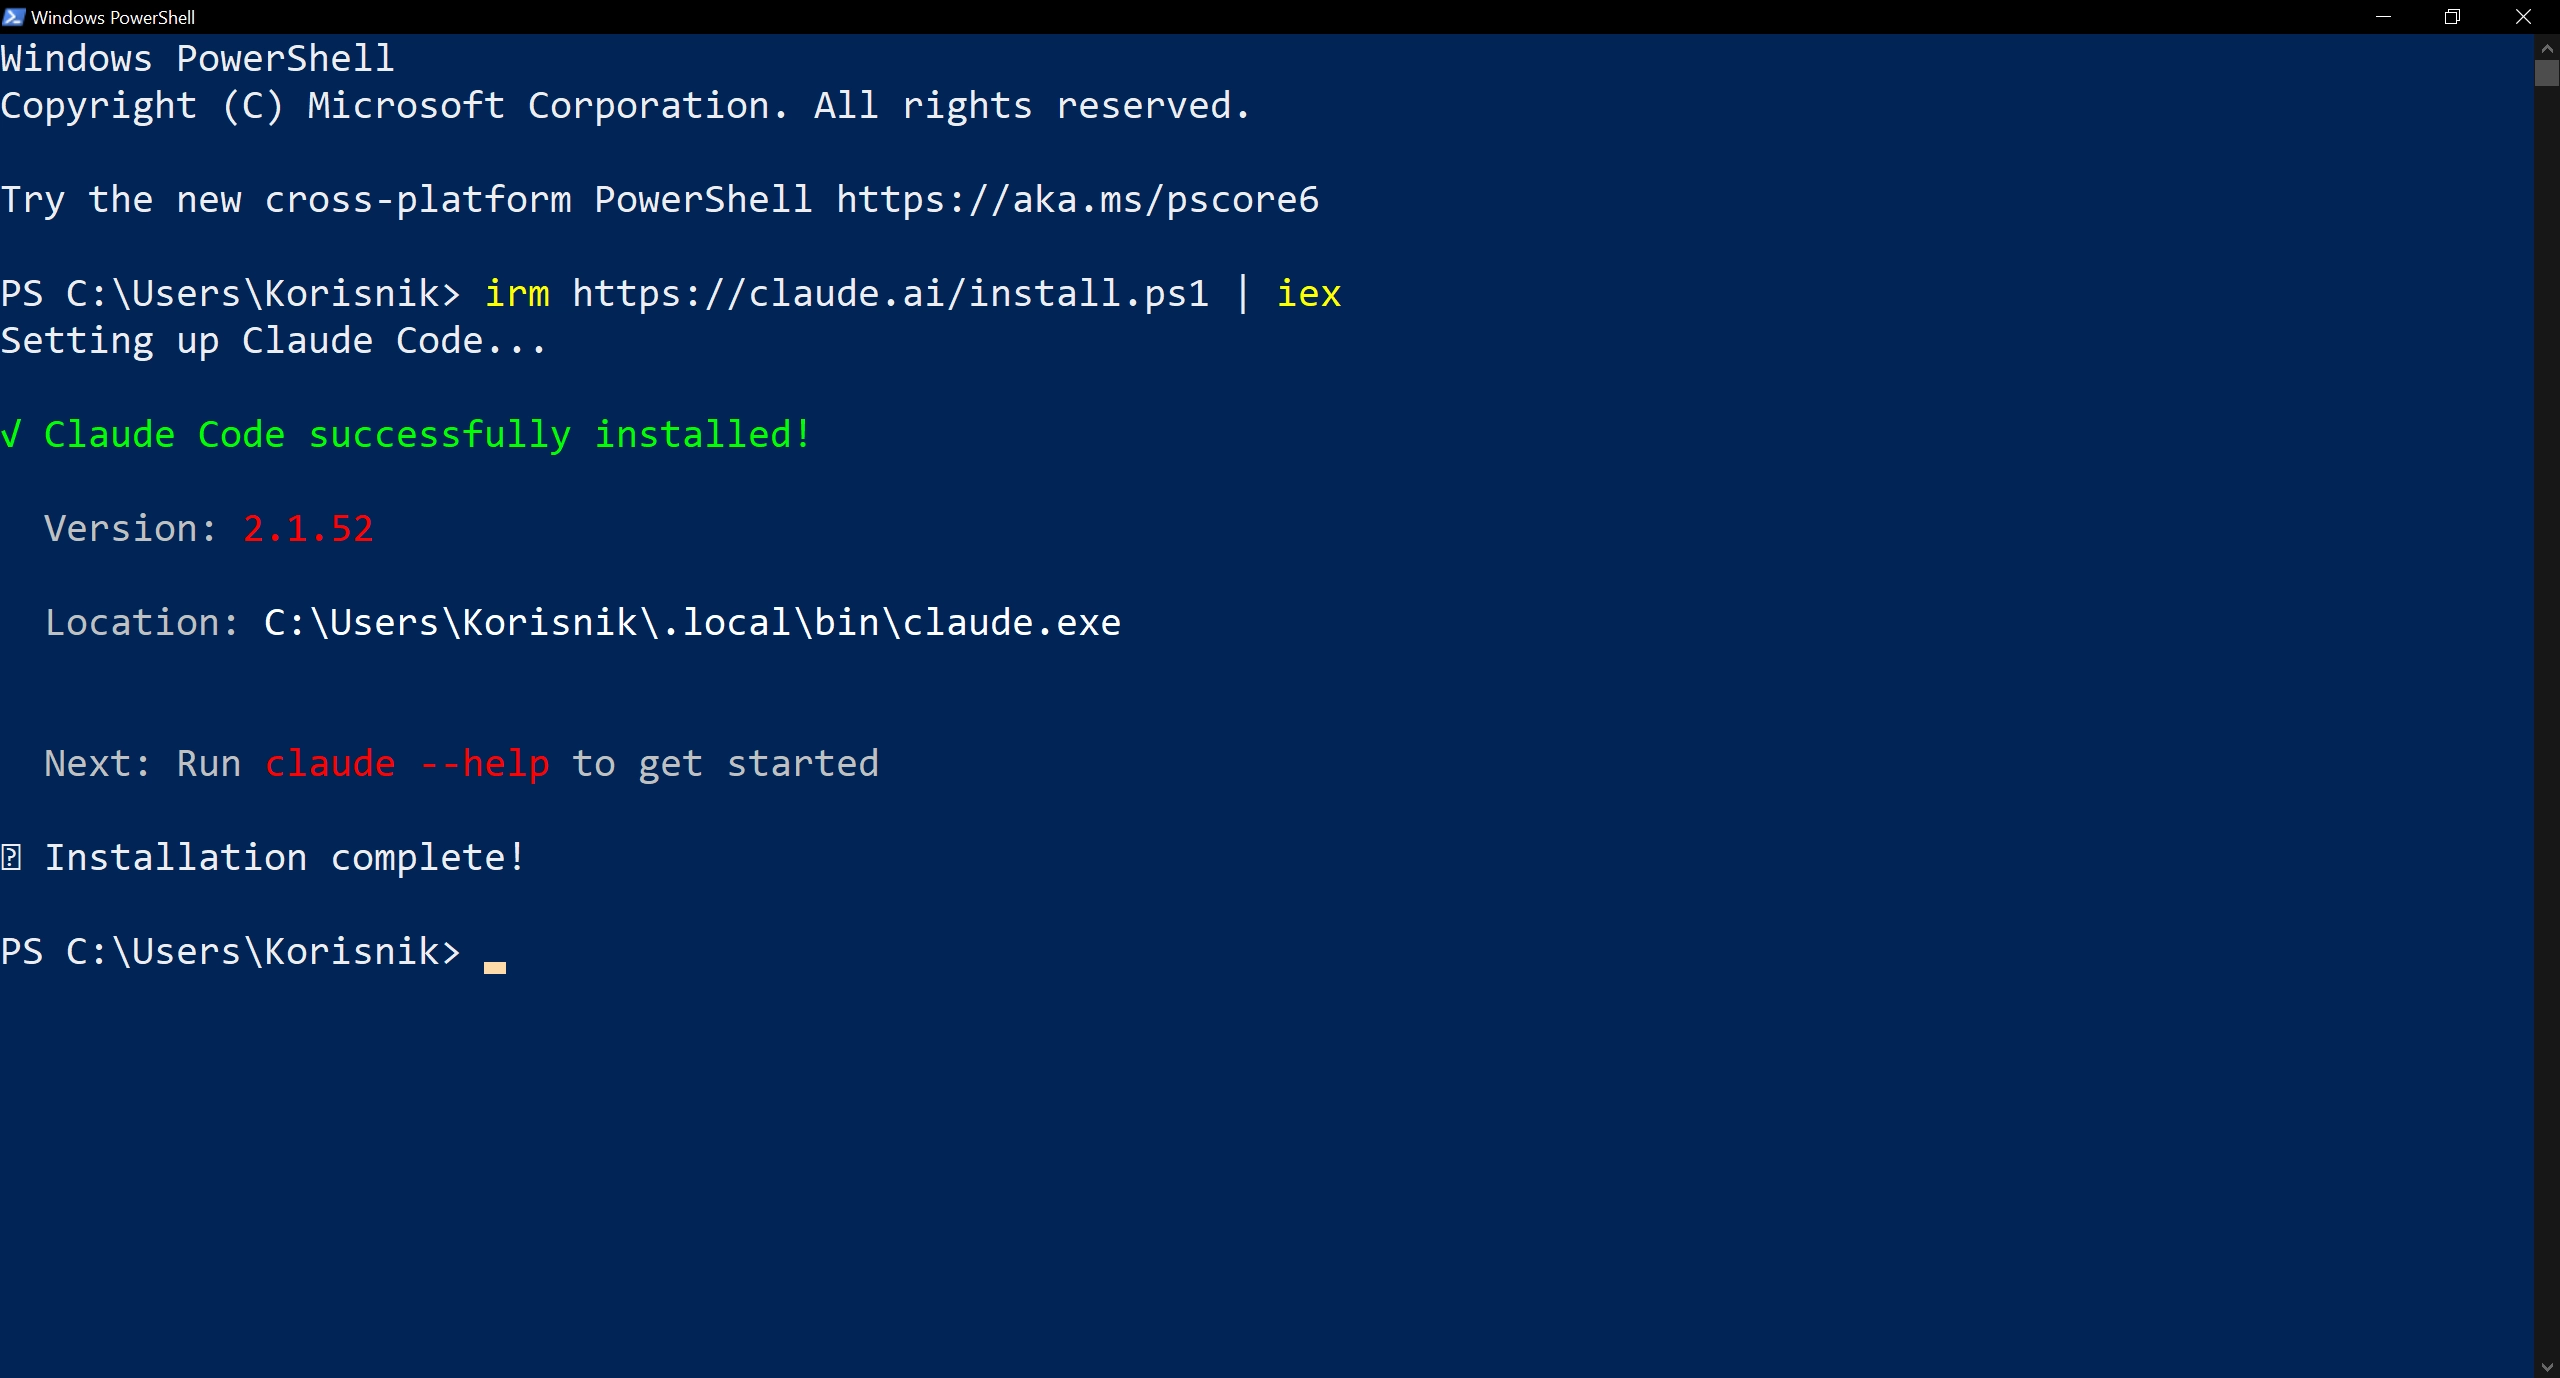
Step 3: Install Claude Code
- Open Windows PowerShell
- Run:
irm https://claude.ai/install.ps1 | iex
- Wait for the installation to finish. You should see "Claude Code successfully installed!"
- Authenticate with your Claude account:
claude login
Follow the prompts to log in. This connects Claude Code to your account and API key.
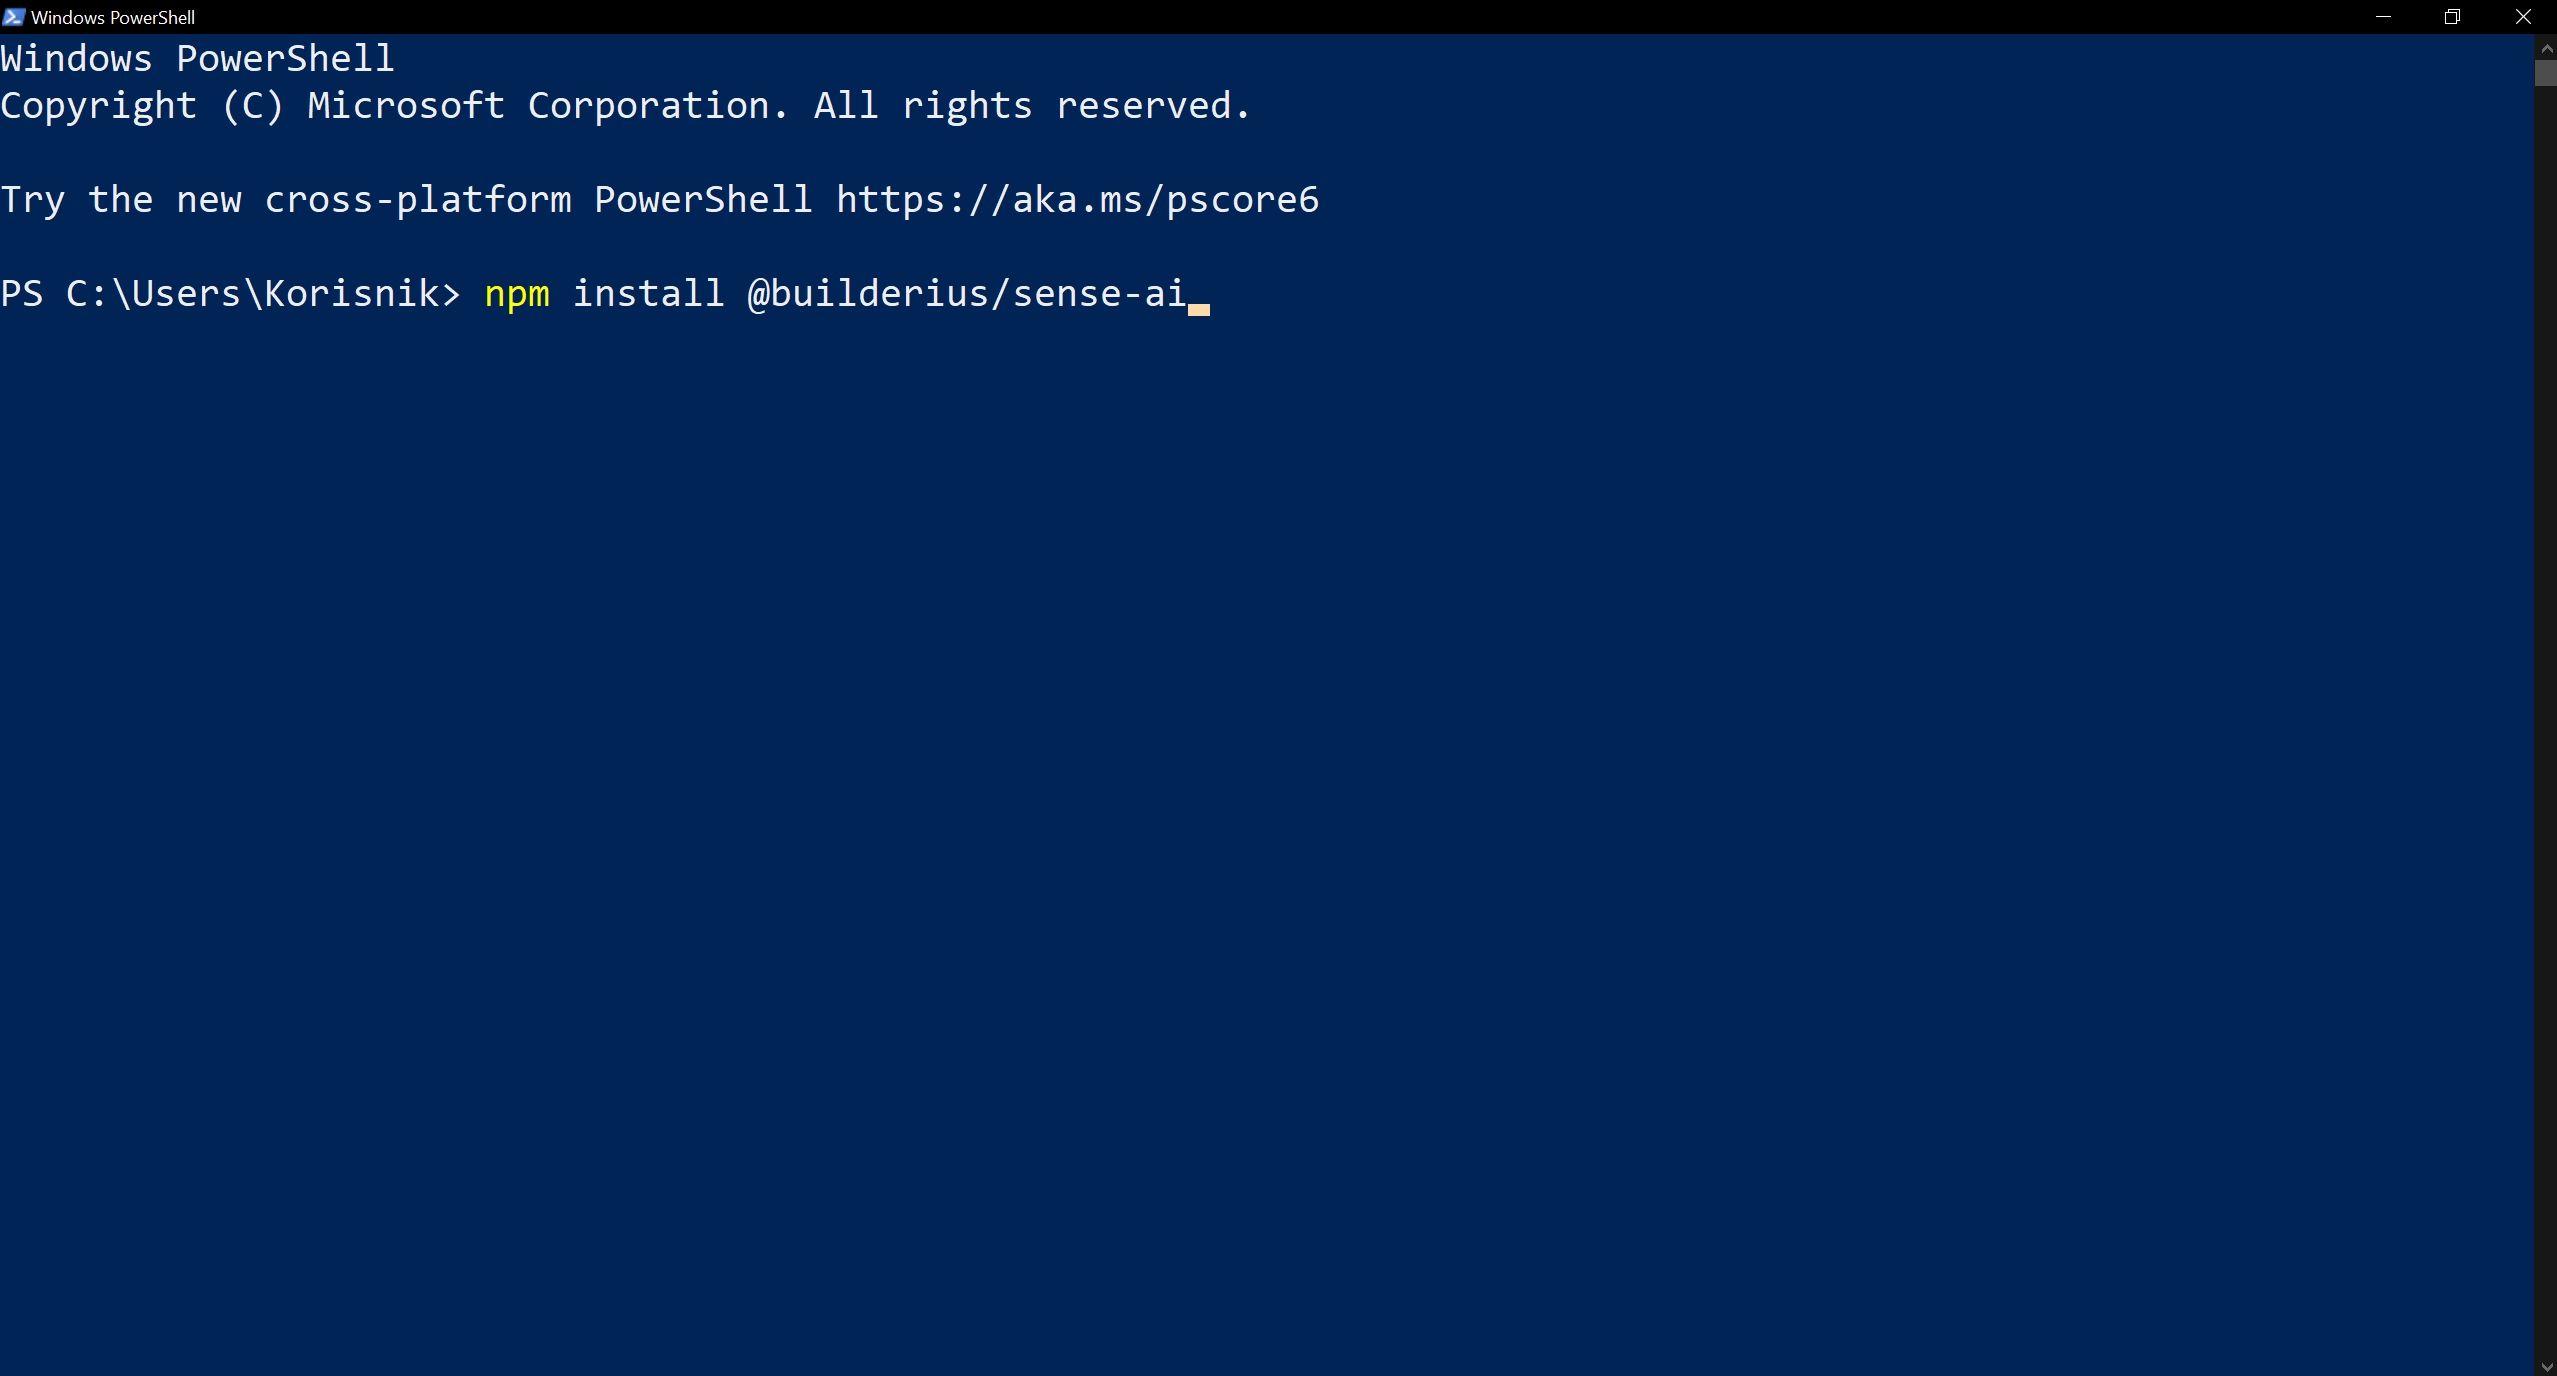
Step 4: Install Sense AI
In the same PowerShell window, run:
npm install @builderius/sense-ai
Steps 1 through 4 are done once per machine. You do not need to repeat them for each WordPress project.
Step 5: Enable Sense in WordPress
- In WordPress admin, go to Builderius → Settings → Sense AI
- Toggle Enable Sense AI on
- Check that the Prerequisites section shows green checkmarks for Node.js, Claude Code, Sense AI, and Git Bash
- Click Save Settings
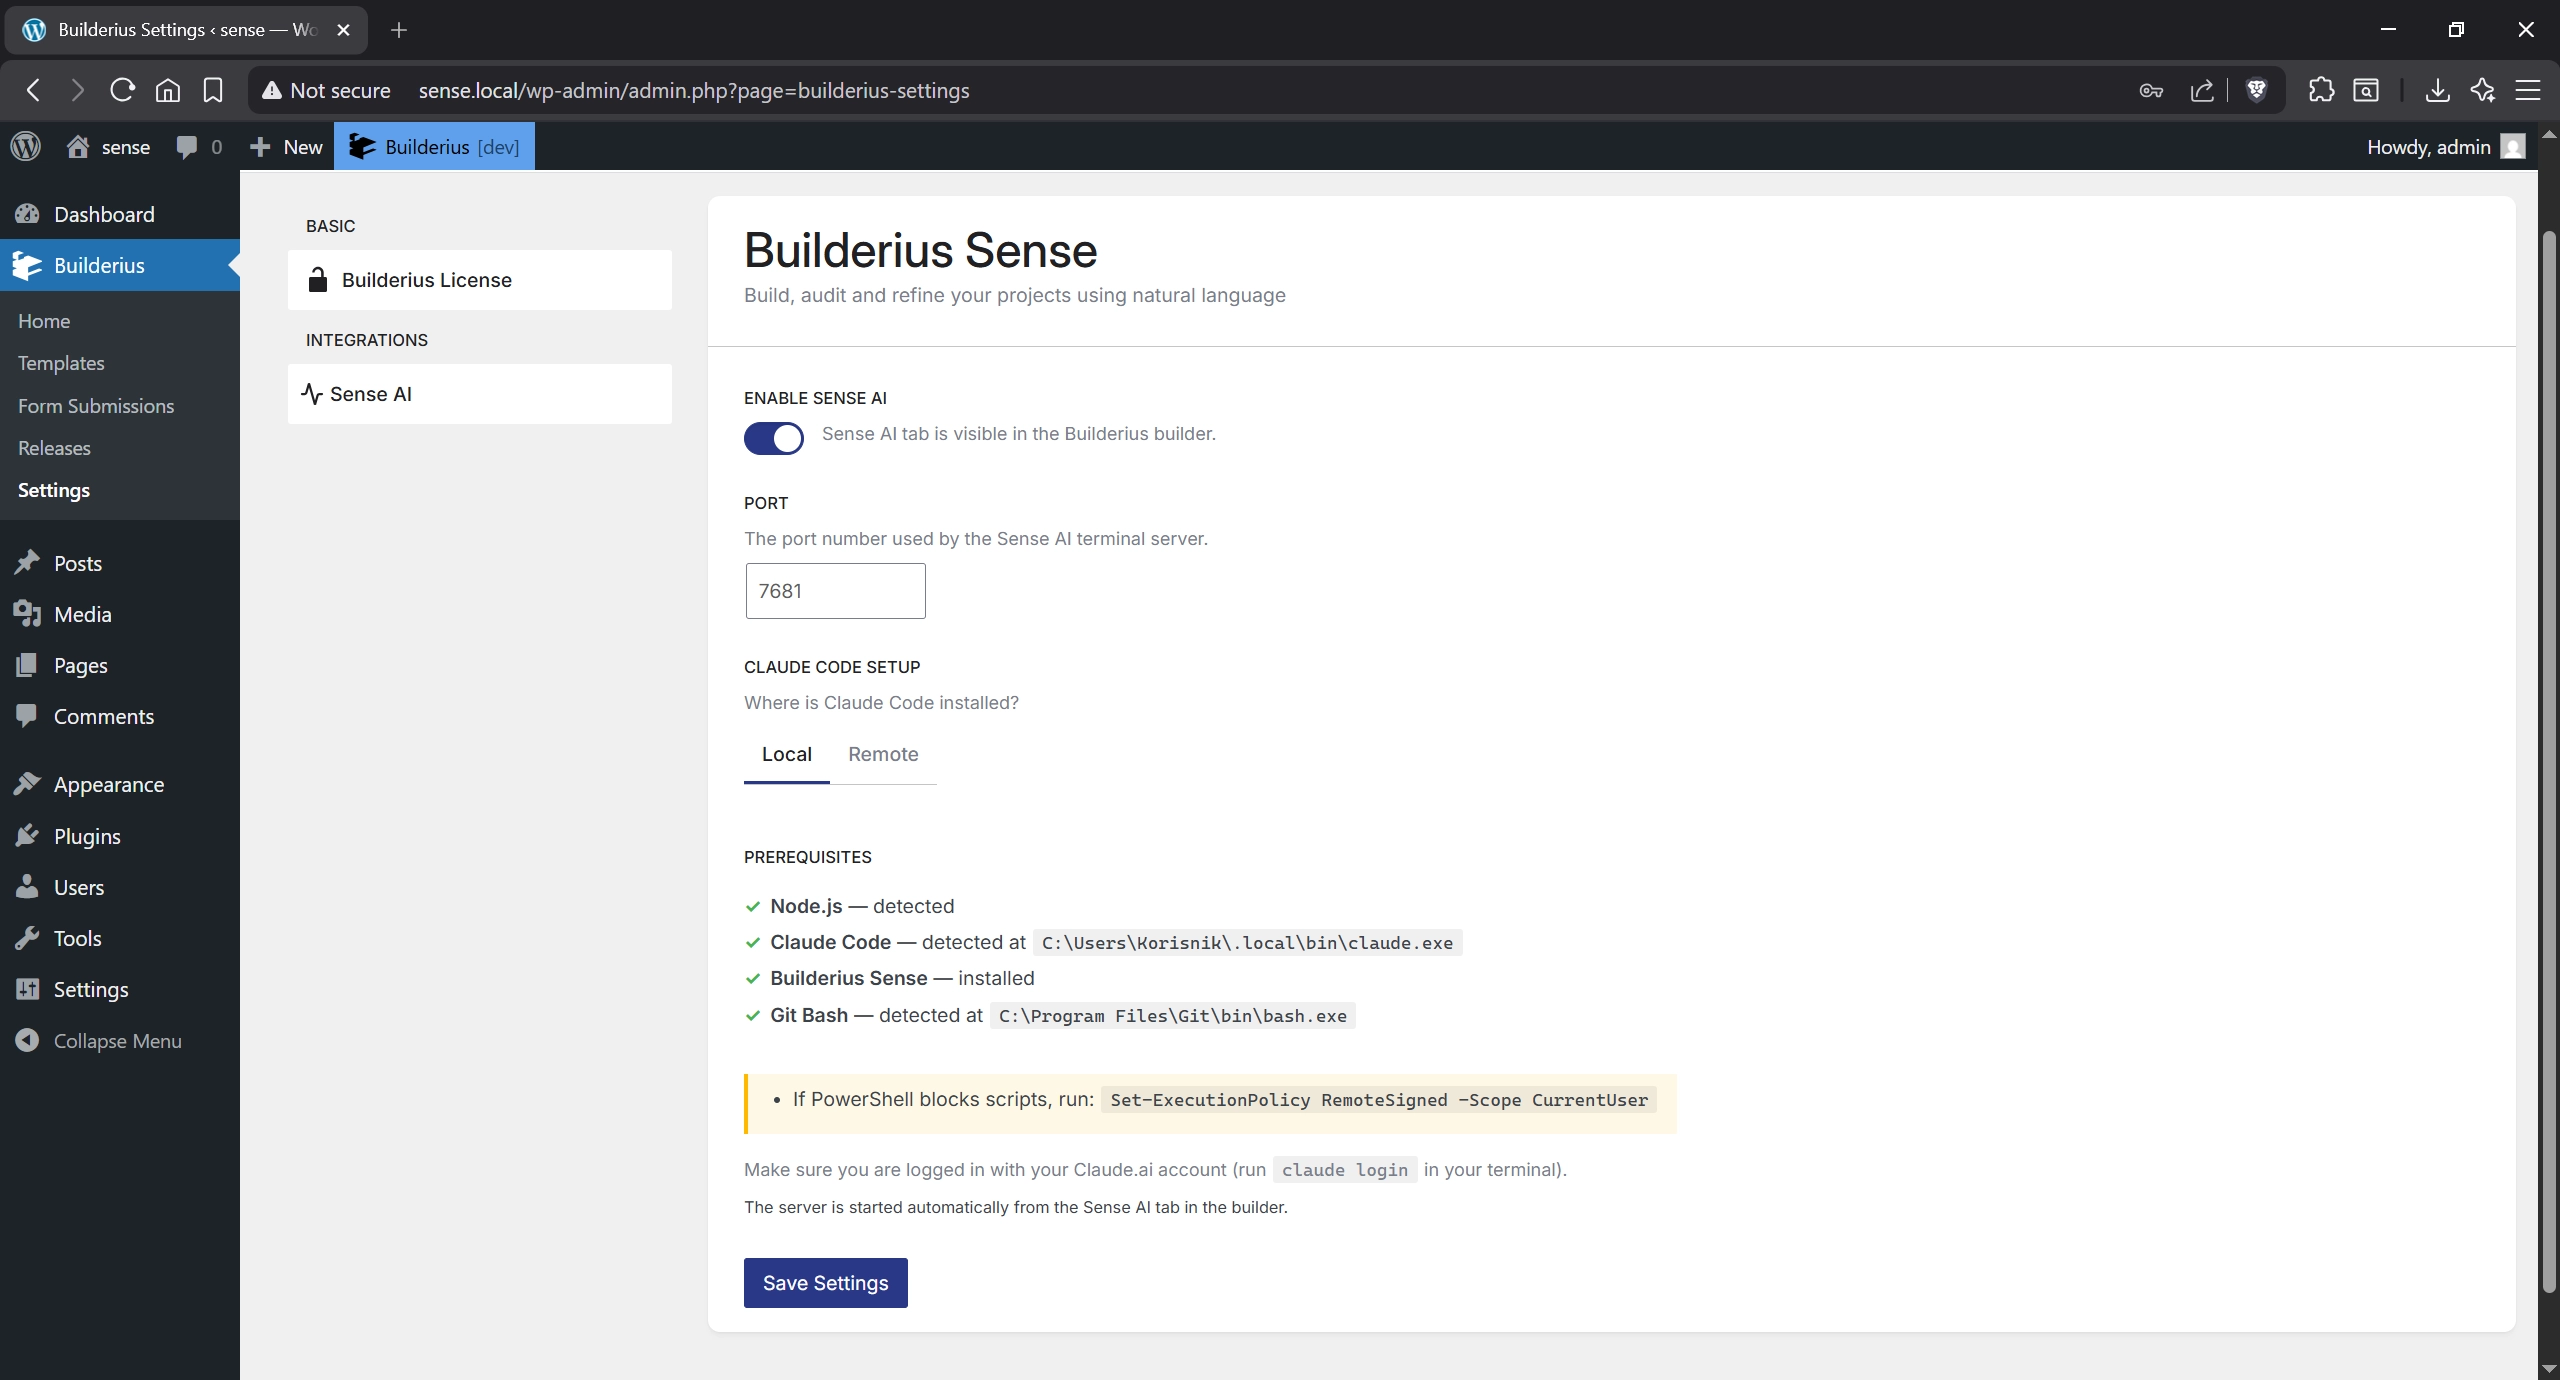
If PowerShell blocks scripts, run: Set-ExecutionPolicy RemoteSigned -Scope CurrentUser
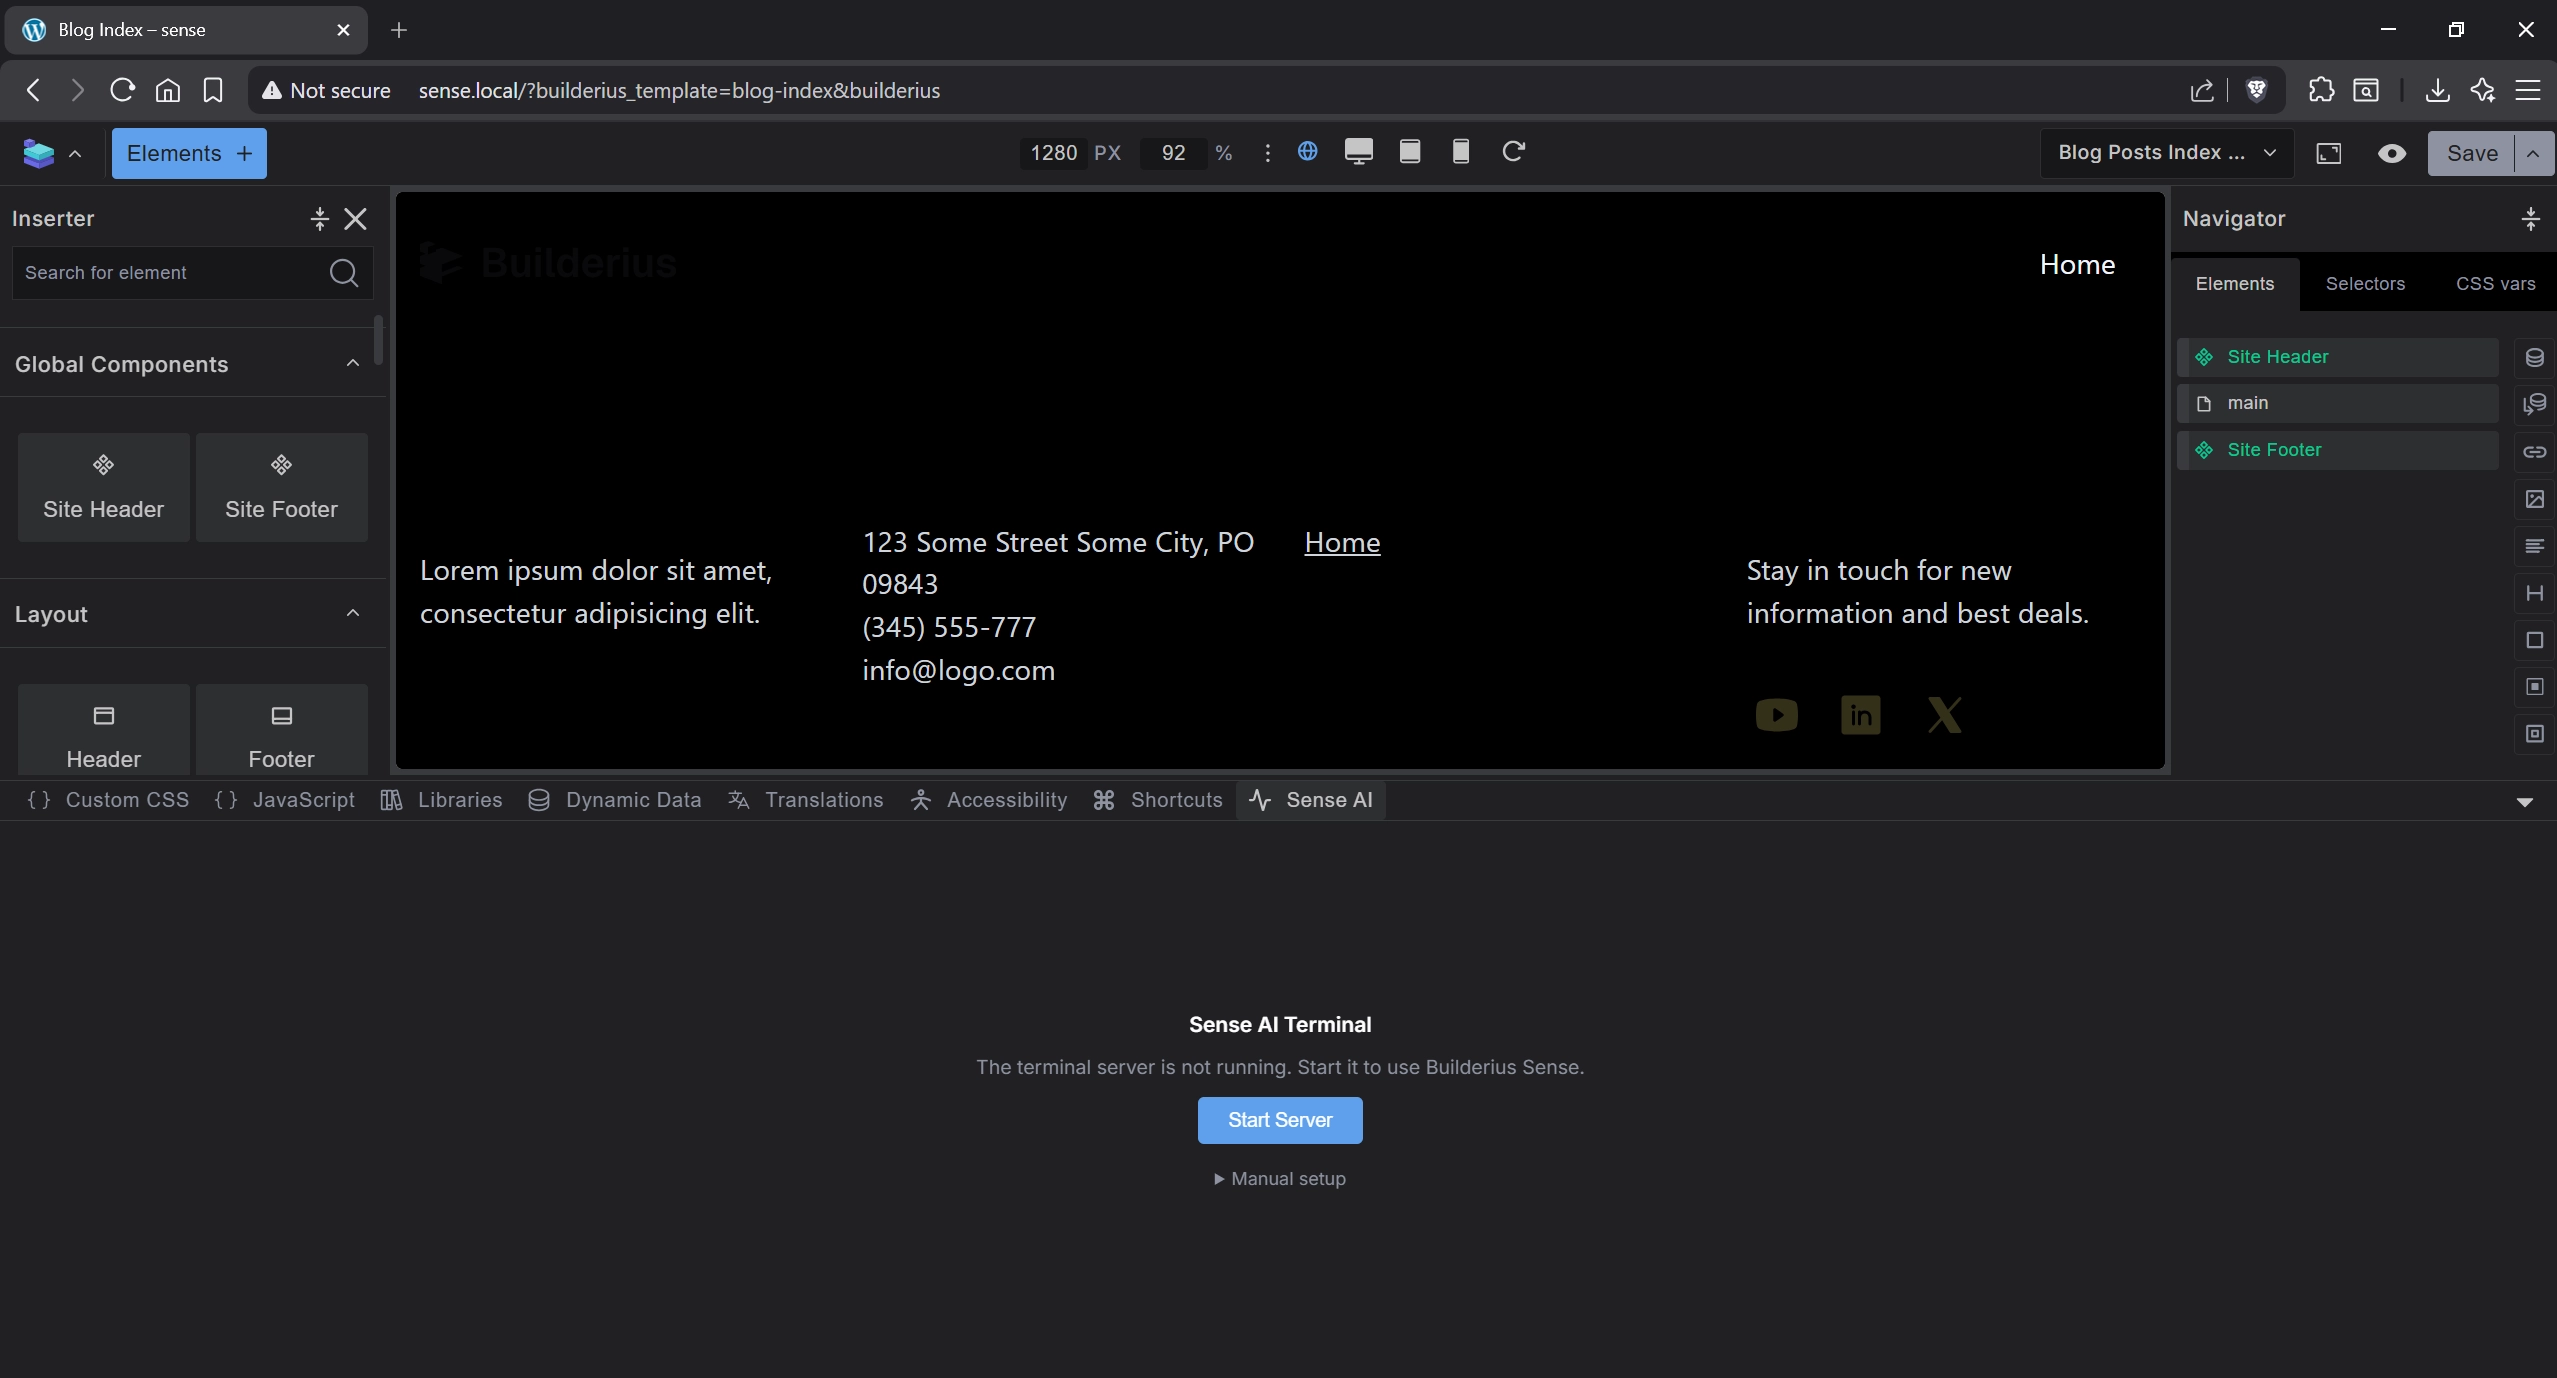
Step 6: Start Sense in the Builder
- Open your site in the Builderius builder
- Click the Sense AI tab in the bottom toolbar
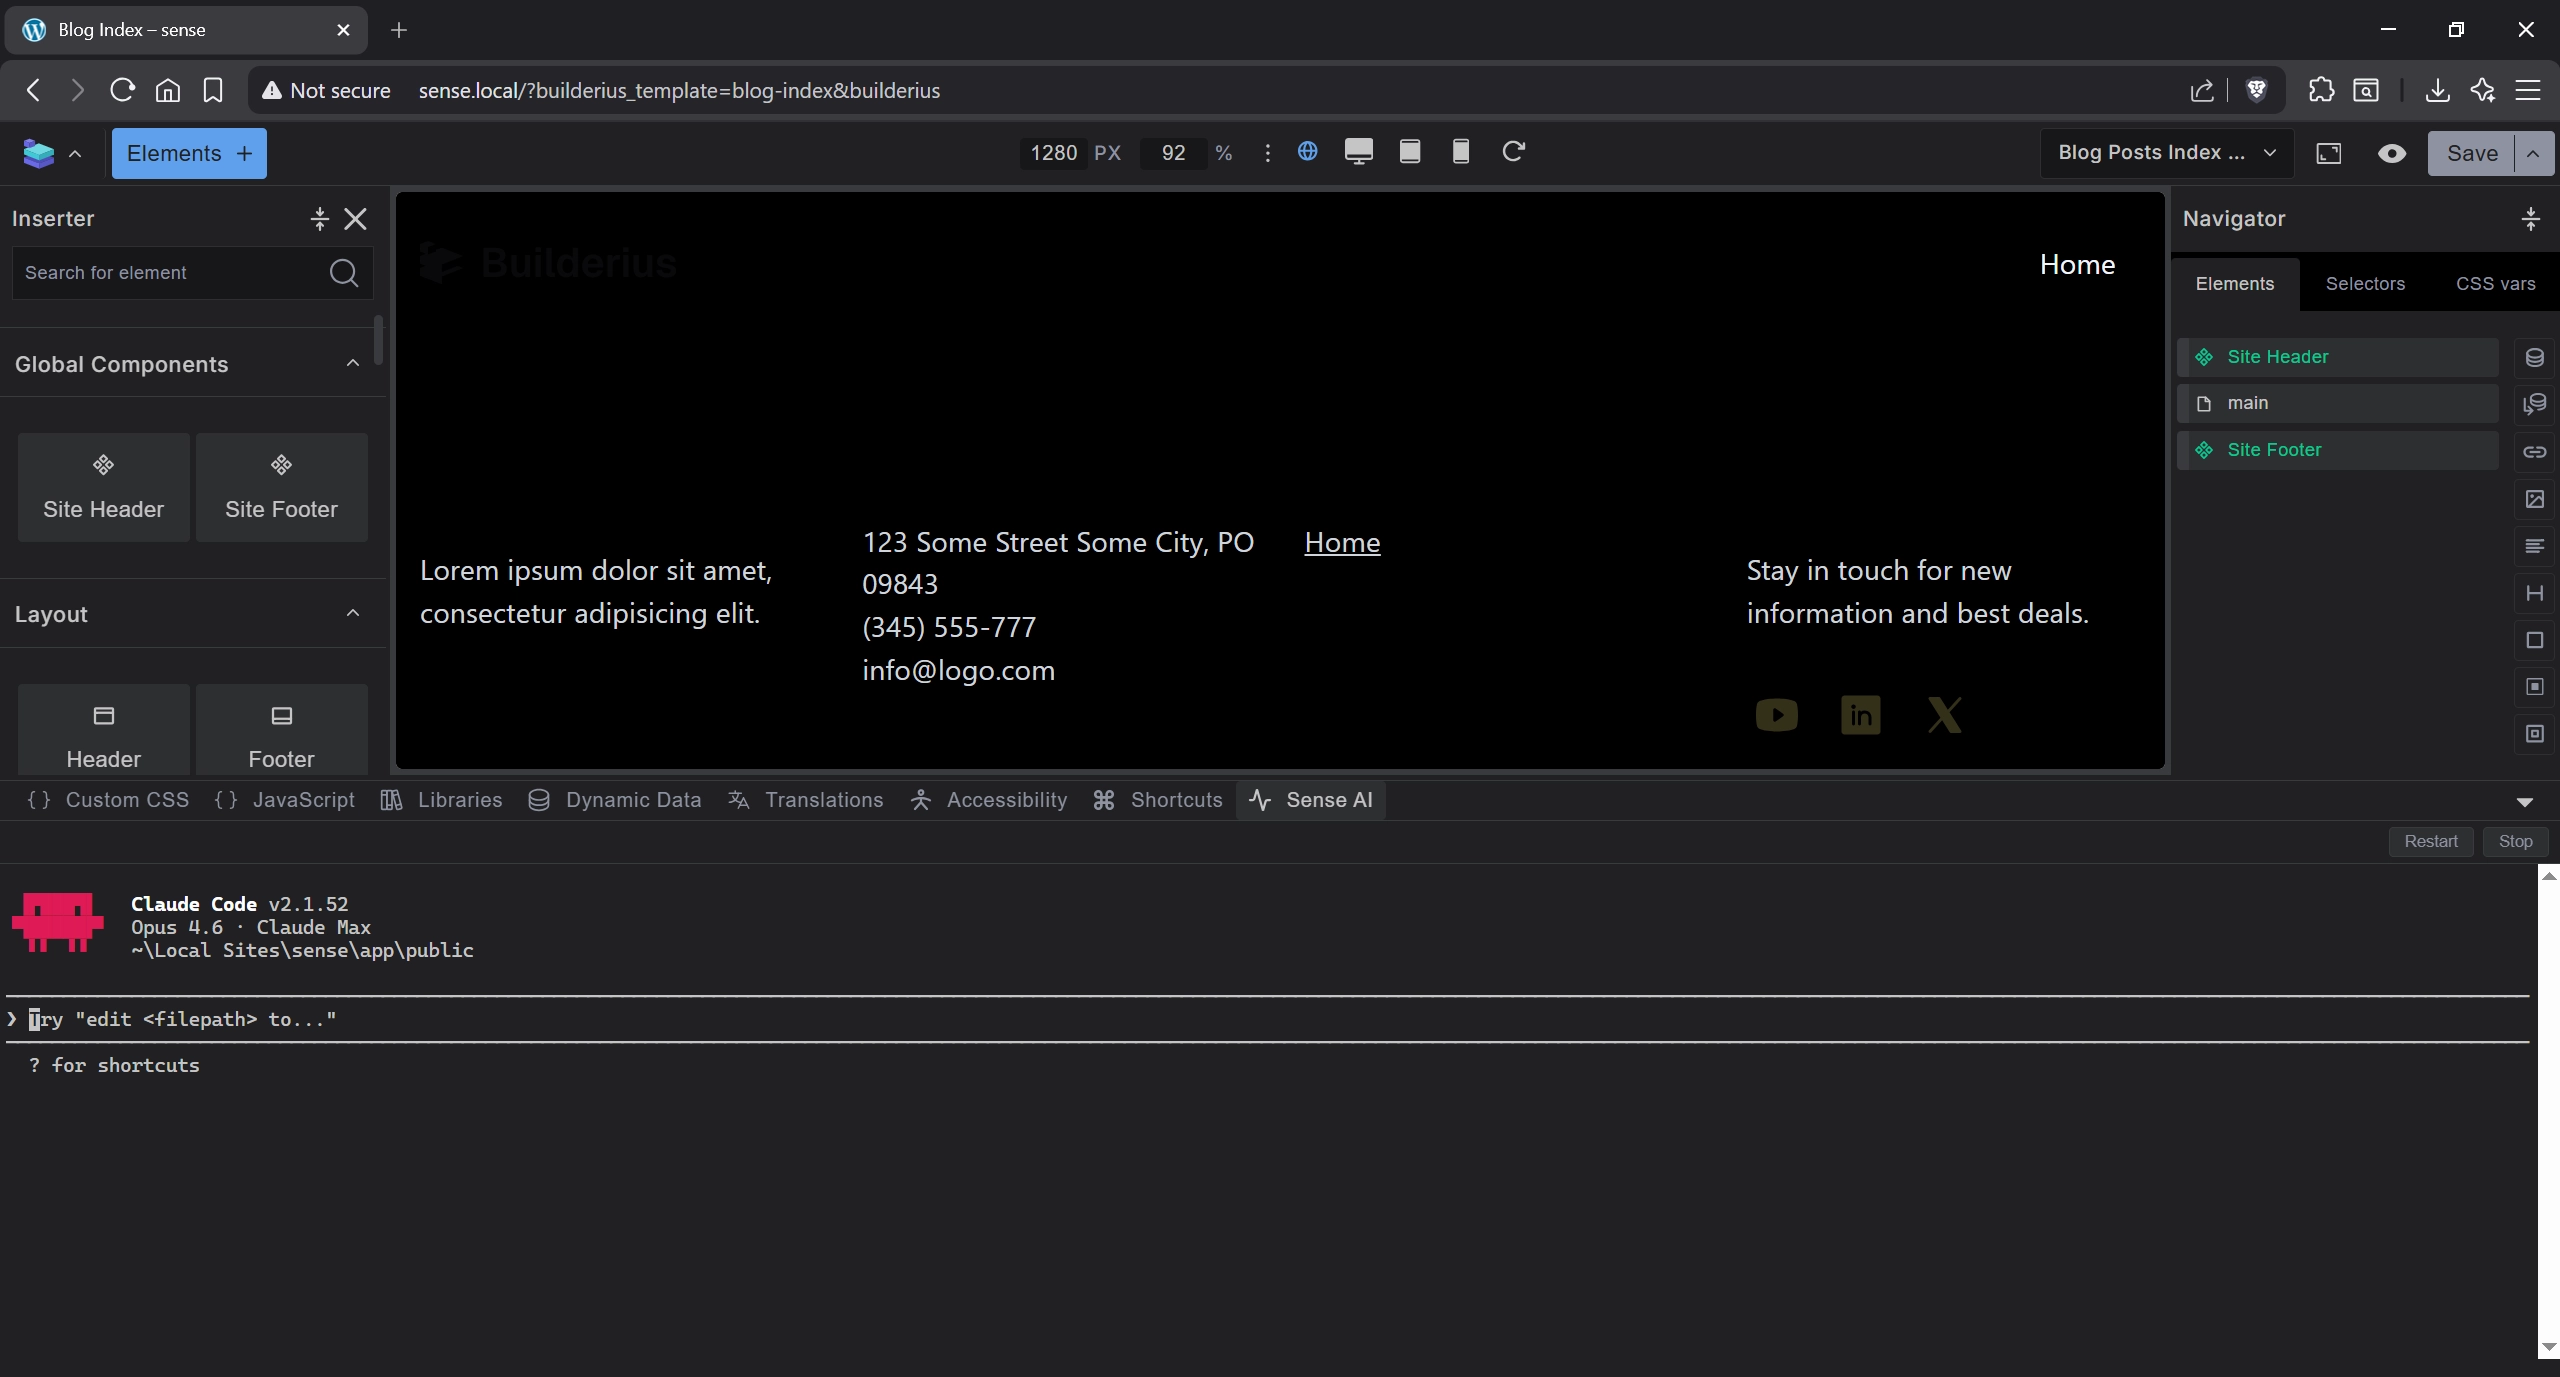
- Click Start Server
Claude Code will connect and display its version and working directory.
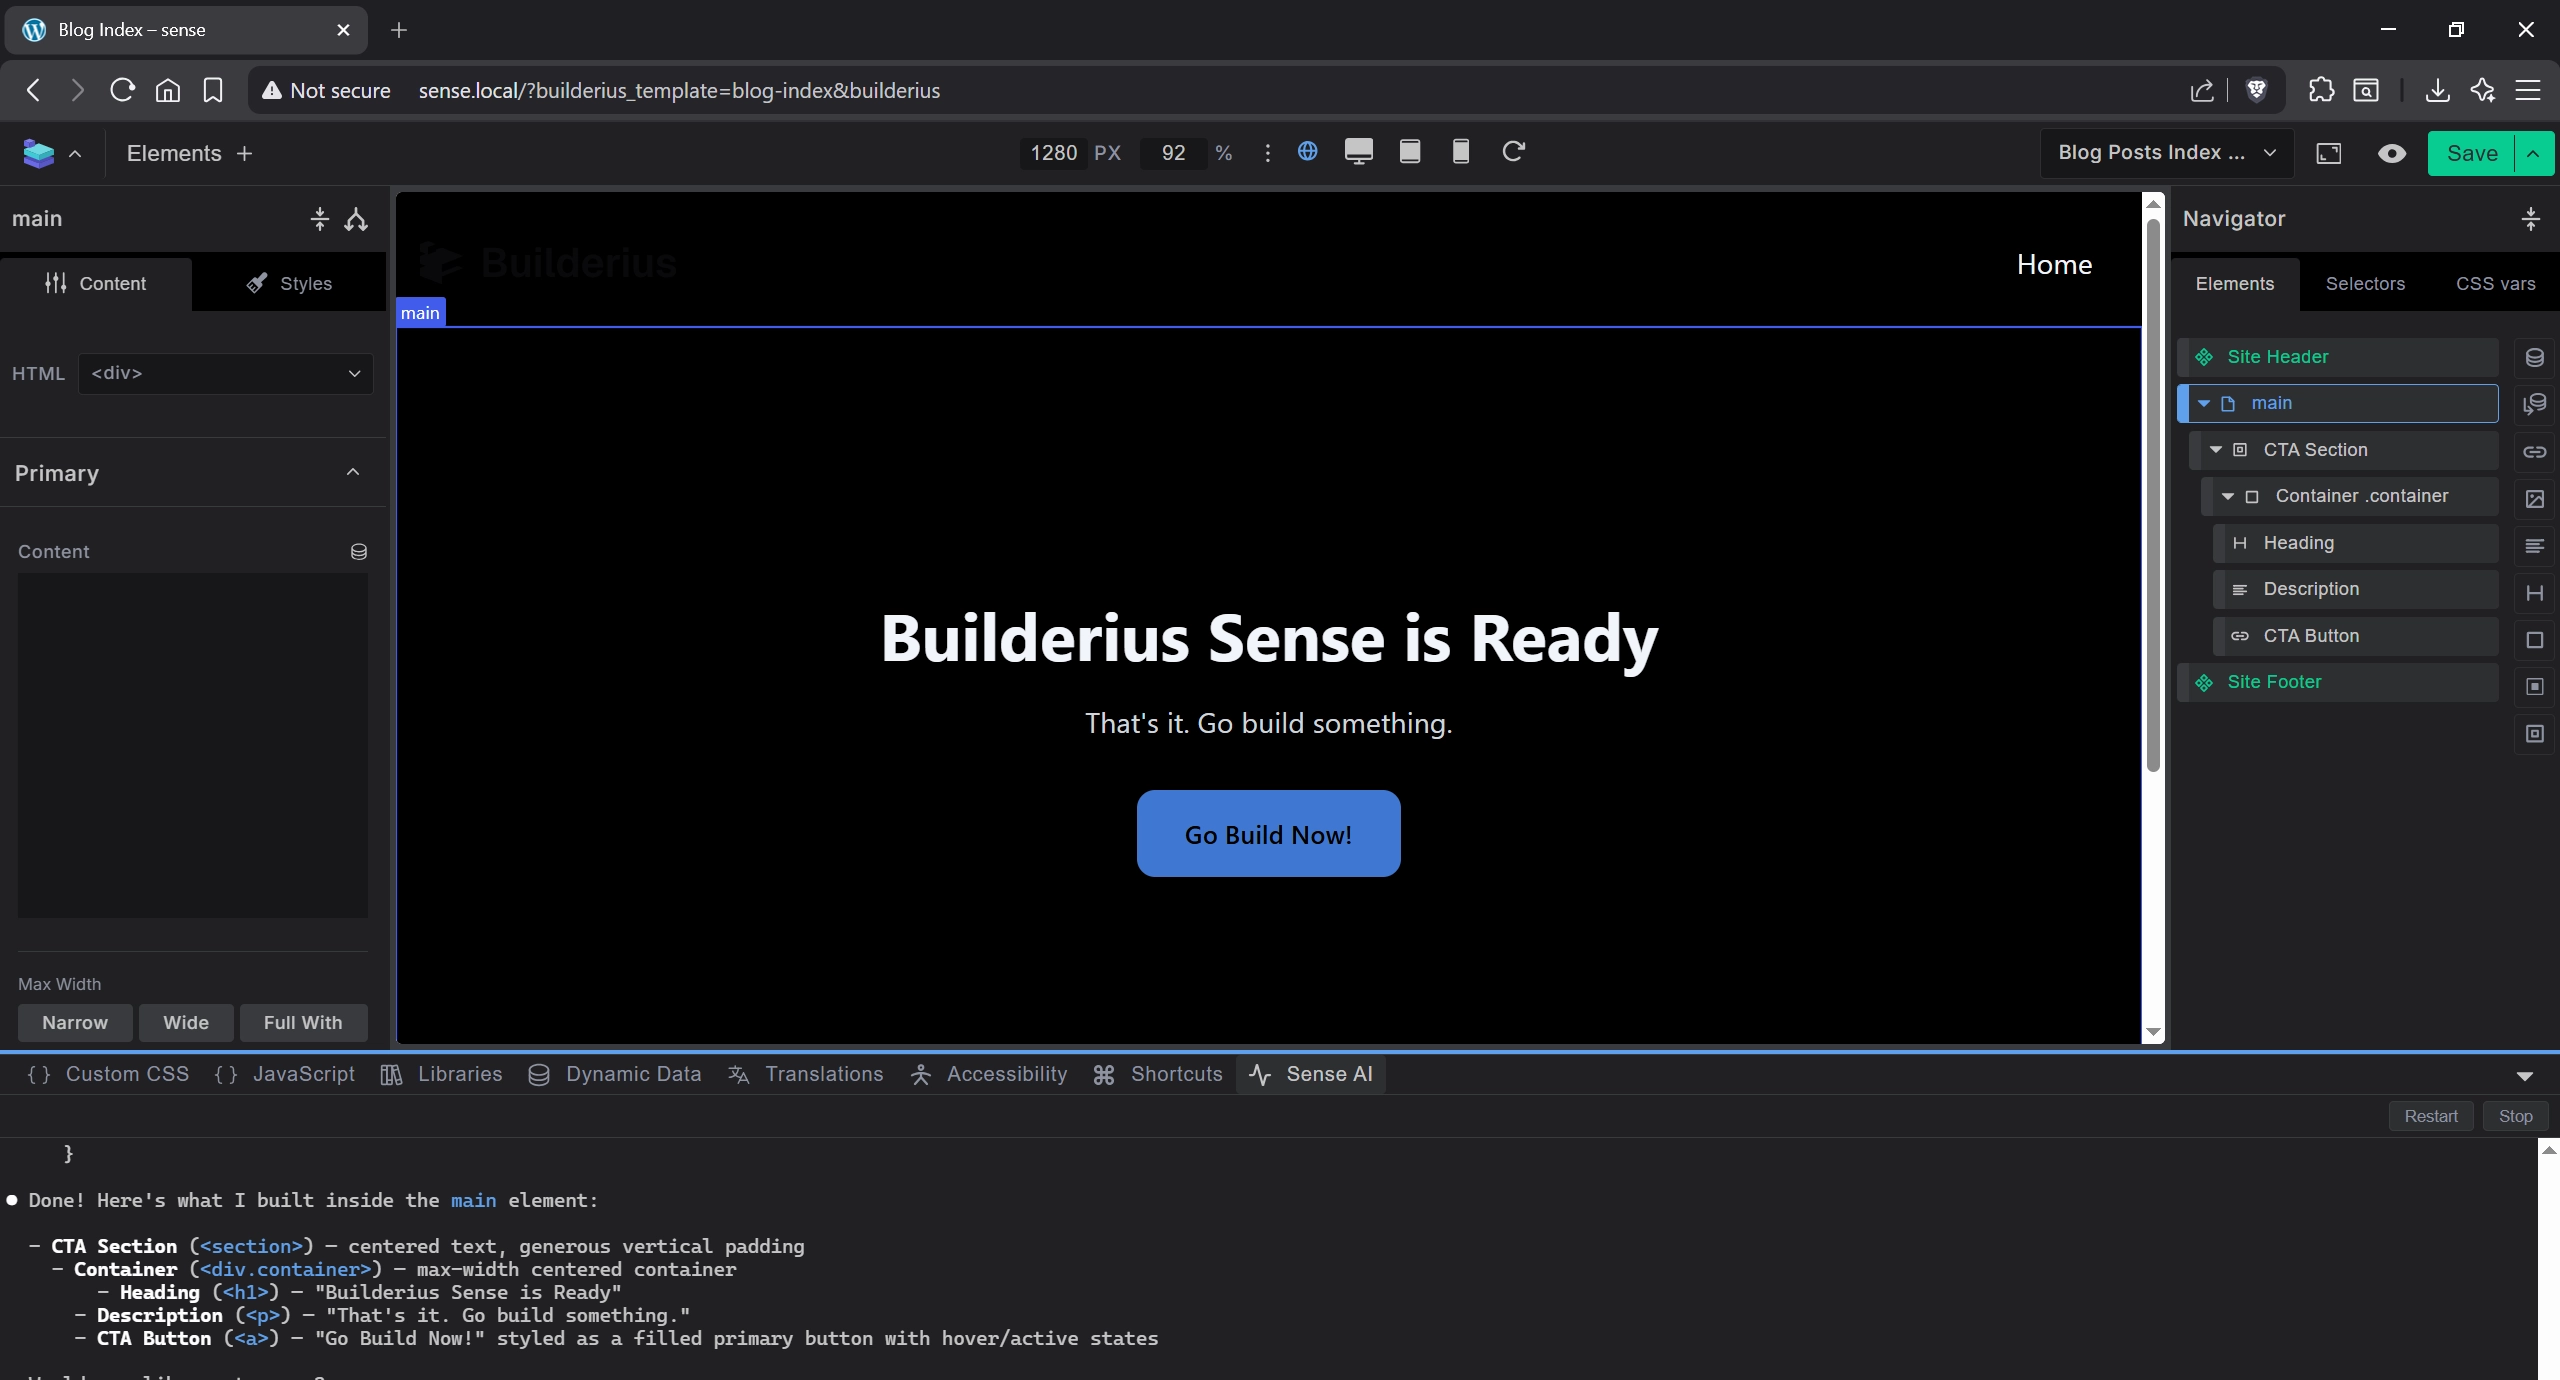
Verify It Works
Select an element in the builder and give Sense an instruction. If it builds elements on the canvas and reports what it did, you are good to go.
For Future Projects
Once the machine setup is complete, each new WordPress project only needs:
- Install and activate Builderius on the site
- Builderius → Settings → Sense AI — toggle on and save
- Open the builder → Sense AI tab → Start Server
Troubleshooting
- "node is not recognized" — Node.js was not added to PATH. Reinstall and make sure "Add to PATH" is checked, then restart PowerShell.
- "npm is not recognized" — Same fix as above. npm ships with Node.js.
- Claude Code fails to install — Make sure PowerShell is running as your normal user, not as Administrator.
- PowerShell blocks scripts — Run
Set-ExecutionPolicy RemoteSigned -Scope CurrentUserand try again. - Prerequisites show red in admin — One or more dependencies are not installed or not detected. Check that Node.js, Git, and Claude Code are accessible from your system PATH.
- Start Server does nothing — Verify Claude Code is authenticated by running
claude loginin PowerShell. Check that the port (default 7681) is not blocked.